Saddle stitch binding creates staple-bound booklets by folding printed sheets and securing them with metal staples along the spine fold. This method delivers professional-looking promotional materials, lookbooks, and catalogs in under an hour with minimal tools: a long-reach stapler, folded paper stock, and a ruler. Unlike saddle sewing, which uses thread, saddle stitching relies on two or three staples driven through the fold, making it faster and requiring no dry time or adhesives.
The technique works best for projects with 8 to 60 pages, and your page count must be a multiple of four. That means you’ll work with 8, 12, 16, 20, or more pages, never 14 or 18. If your content runs short or long, you’ll add or trim pages before you print, often using the inside covers or back page as active design space rather than leaving them blank.
Saddle stitch binding suits Canadian entrepreneurs who need quick-turn marketing materials without the waste or expense of perfect binding or spiral coils. Because you’re using only paper and a few staples, the finished booklets are fully recyclable, supporting a more sustainable approach to printed collateral. The process also scales beautifully: you can produce a single prototype or prepare dozens of copies with the same straightforward workflow.
This guide walks you through the planning, stapling, and quality-checking phases so you can produce crisp, durable booklets that represent your brand well and keep costs low.
What You’ll Need for Saddle Stitch Binding
You can create a professional saddle stitch booklet with just a few basic supplies, no glue, no thread, and no specialized equipment. Saddle stitch binding relies entirely on staples inserted through the folded spine, making it one of the simplest binding methods to execute at home or in a small print shop.
- Paper stock: Choose a weight that folds cleanly without cracking, typically 80-100 lb text weight for interior pages
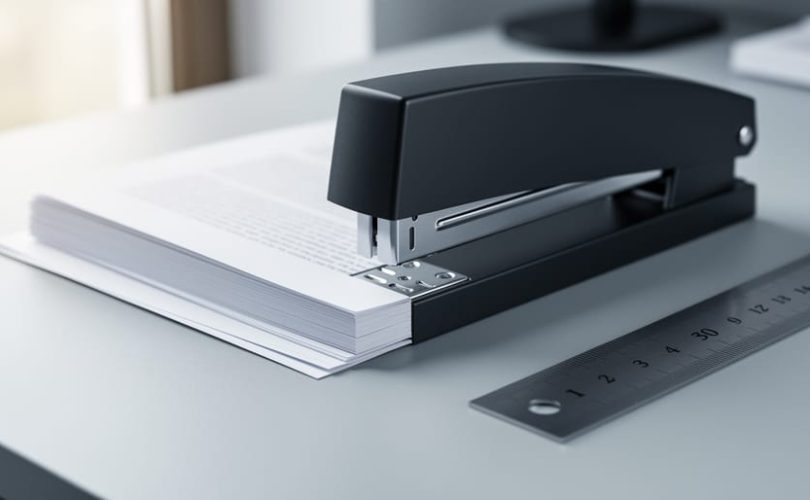
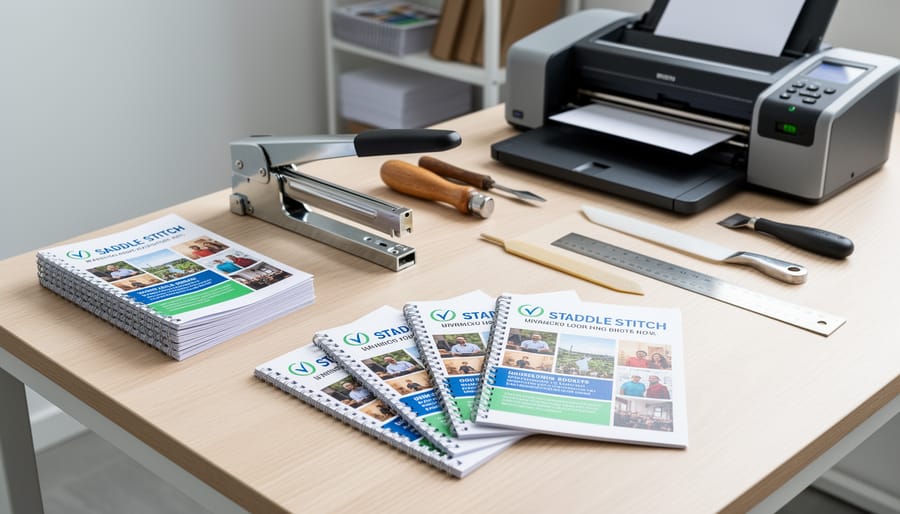
- Long-reach stapler or saddle stapler: A standard desk stapler won’t reach the center fold; you need at least 6 inches of throat depth
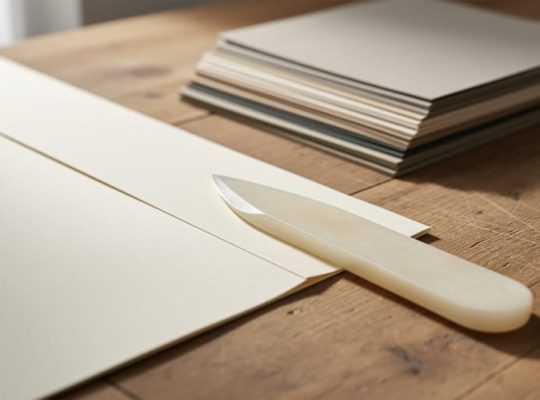
- Bone folder or folding tool: Creates sharp, professional creases without damaging the paper
- Metal ruler: Essential for measuring staple placement and trimming guides
- Cutting mat and craft knife: For trimming edges flush after binding
If you’re ordering custom printed materials through a service like Design Maker your sheets will arrive pre-printed on both sides, ready to fold and staple. For sustainability-minded projects, look for FSC-certified paper or post-consumer recycled stocks, saddle stitch binding works beautifully with eco-friendly materials because the simple staple construction makes the finished booklet easier to recycle than glue-bound alternatives. Heavier cover stock (around 100 lb cover weight) gives your booklet a sturdier feel, while lighter text weight keeps page counts flexible without bulk.
Before You Start: Page Count and Design Requirements
Before you reach for your stapler, stop and check your page count, getting this wrong means restarting from scratch. Every saddle-stitched booklet must have a page count that is a multiple of four: eight, twelve, sixteen, twenty pages, and so on. This rule exists because each folded sheet contributes four pages to your booklet (front and back of two sides), and saddle stitch binding relies on nesting these folded sheets together and stapling them through the center fold.
If your content runs to fourteen pages, you cannot simply staple it and hope for the best. You need to either add two pages or cut two to reach a valid count of twelve or sixteen. The most common solution is to use the inside front cover, inside back cover, or back cover as active design space rather than leaving them blank. This gives you room for author bios, resource lists, extra images, or a call to action without padding your main content with filler.
File preparation matters just as much as page count. Supply your artwork as single pages, not spreads. Your printer or stapling setup expects to receive individual pages that will be printed on both sides of folded sheets, then nested and stapled. If you send spread layouts, the pages will not align correctly when folded, and you will end up with content in the wrong order or upside down.
Count your pages now, adjust your layout to hit a multiple of four, and format your files as single pages before you move forward. This is your stop condition, proceeding without meeting these requirements guarantees wasted paper, time, and frustration.
Step-by-Step: Creating Your Saddle Stitch Booklet
Prepare and Fold Your Printed Sheets
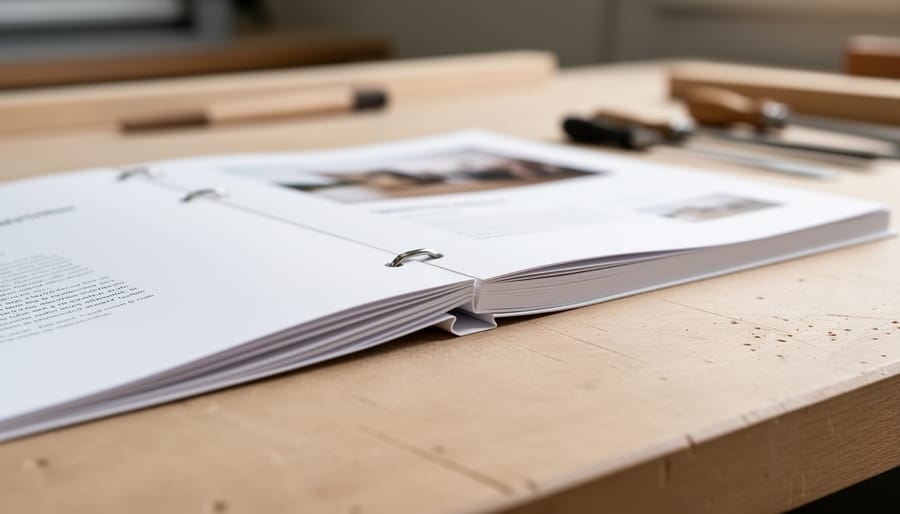
Start by confirming your sheets are printed on both sides before folding. Lay each sheet flat on a clean surface, then fold it precisely in half with the printed sides facing outward. Use a bone folder or the edge of a ruler to press firmly along the fold from center to edges, creating a sharp crease. Work slowly to keep the edges aligned, misaligned folds will cause pages to stick out unevenly when stapled. For thicker paper stocks, score the fold line lightly with a bone folder before creasing to prevent cracking. Stack your folded sheets in page order, nested inside one another, with page one on the outermost sheet.
Align and Staple Through the Spine
Stack your folded sheets inside one another so the pages nest in the correct reading order. The center fold of all sheets should align perfectly, forming a single spine line where you’ll insert the staples.
Open the booklet flat with the spine facing up on a stable surface. Position your long-reach stapler (or saddle stapler) so it straddles the spine, with the stapling head centered on the fold. For most booklets, place two staples: one about one inch from the top edge and one about one inch from the bottom. Taller booklets, anything over eight inches, benefit from a third staple centered between the other two. This prevents pages from sagging or pulling away from the binding.
Press firmly and evenly to drive each staple through all layers of paper at once. The staple legs should pierce the spine from the outside and bend flat against the center spread on the inside. Check that the staples sit flush and centered on the fold. If a staple doesn’t penetrate cleanly, remove it and reposition rather than doubling up, which can weaken the binding.
Work carefully with thicker paper stocks or higher page counts, you may need a stapler with greater throat depth to reach the spine comfortably.
Check Alignment and Trim if Needed
Close the booklet and place it on a flat surface. Run your hand firmly along the spine to set the staples, then check that all pages align at the edges. If the outer pages protrude slightly beyond the inner ones, common with thicker paper stocks, you’ll need to trim them for a clean finish. Use a sharp cutting blade and a metal ruler on a cutting mat to slice the three open edges (top, bottom, and fore-edge) in one smooth pass. Work carefully to avoid shifting the pages; a single clean cut produces sharper results than multiple attempts. Once trimmed, flip through the booklet to confirm the staples hold tight and no pages catch or tear.
Checking Your Finished Booklet
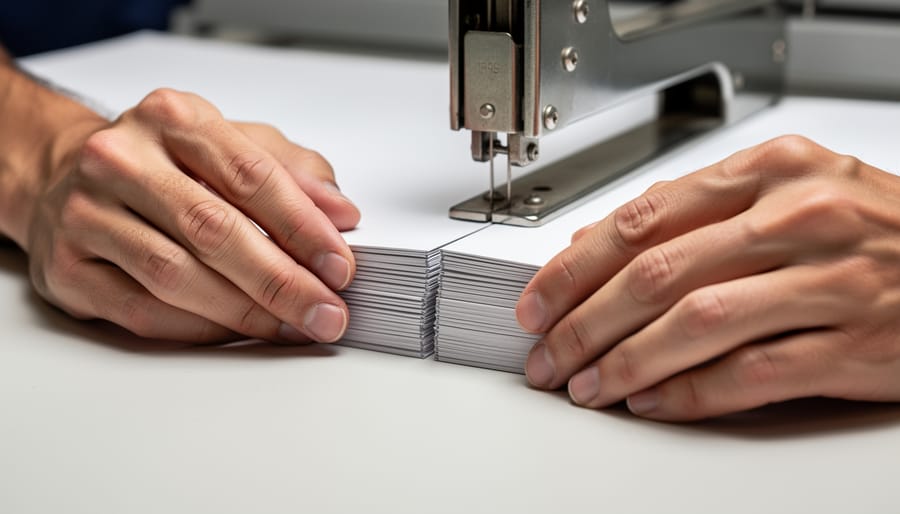
Once your booklet is stapled, take a moment to verify the quality before moving on to the next copy or a larger run. Open the booklet to the center spread and check that it lays flat without buckling. Flip through each page slowly, ensuring they turn smoothly and no sheets are stuck or misaligned. Examine the spine: staples should be tight against the paper, centered along the fold, and driven fully through all layers.
Run through this quick checklist:
- All pages turn freely without resistance or tearing
- Staples sit flush and centered on the spine
- No pages are out of order or upside down
- The booklet lays flat when opened to any spread
- Edges align evenly, with no sheets protruding
If edges are uneven, trim them with a sharp blade and ruler for a polished finish. For test copies, this manual check catches issues before you commit to bulk production. Once you’re confident in your process, consider scaling up: repeat the same stapling workflow for multiple copies, or work with a professional printer who can saddle stitch hundreds of booklets quickly. Many print shops offer finishing services that include trimming, cover stock upgrades, and quality control, saving you time on larger runs while maintaining the cost and sustainability benefits of saddle stitch binding.
Why Choose Saddle Stitch Binding?
Saddle stitch binding offers three major advantages that make it a go-to choice for short-run printed materials: speed, low cost, and simplicity. Because the method relies only on staples, no glue, no adhesives, no waiting for anything to cure, you can finish a batch of booklets in minutes rather than hours. This makes saddle stitch ideal when you need quick turnarounds for events, product launches, or seasonal campaigns where timing matters more than permanence.
You’ll commonly see saddle stitch used for catalogs, event programs, zines, lookbooks, and promotional booklets, especially in the apparel and fashion industries where brands need to showcase collections without a major print investment. The stapled spine allows the booklet to lay flat when opened, which is useful for displaying product photography or detailed design spreads. It’s also a practical format for handing out at trade shows, pop-ups, or retail environments where customers can easily flip through and carry away your materials.
From a sustainability standpoint, saddle stitch binding has a clear edge. With no adhesive waste and minimal materials, just paper and a few staples, the booklets are easier to recycle than perfect-bound or case-bound alternatives. Pairing saddle stitch with recycled or FSC-certified paper stock aligns naturally with the values behind sustainable clothing and ethical business practices, reducing your environmental footprint while still delivering professional, polished printed pieces.
Common Questions About Saddle Stitch Binding
What’s the difference between saddle stitch and saddle sewing?
Saddle stitch uses metal staples driven through the center fold to bind pages together, while saddle sewing uses thread stitched through the spine. Saddle stitch is quicker and cheaper because it requires no glue or dry time, making it ideal for fast turnarounds.
How many pages can a saddle stitch booklet have?
Most saddle stitch booklets work well up to 60-80 pages total, depending on your paper weight. Thicker stocks will limit your maximum page count because the staples need to penetrate cleanly through all the folded sheets.
Can I do saddle stitch binding at home?
Yes, you can create saddle stitch booklets at home with a long-reach stapler or saddle stapler, printed sheets, and a bone folder for crisp folds. This makes it accessible for small runs, zines, and lookbooks without needing professional equipment.
What if my page count isn’t a multiple of four?
You’ll need to either add two pages or cut two to reach a valid count like eight, twelve, sixteen, or twenty pages. The easiest solution is using your inside front cover, inside back cover, or back cover as active design space instead of leaving them blank.
If you’re planning larger print runs for promotional materials or catalogs, check out our print-on-demand tips for scaling production efficiently. Saddle stitch binding works particularly well for lookbooks and product catalogs that help build your brand through professional printed materials that customers can hold and keep.
Saddle stitch binding offers a smart, straightforward solution for anyone creating booklets on a budget. It’s fast, requires minimal equipment, and skips glue entirely, just folded sheets and a few well-placed staples through the spine. Whether you’re printing zines, lookbooks, or promotional materials for your brand, this method delivers professional results without the wait or waste of adhesive binding.
Experiment with sustainable paper stocks to align your projects with eco-conscious values. At Monkey Prints, we’re committed to quality printed materials that support custom apparel and promotional needs while respecting the planet. Start small, refine your technique, and you’ll have polished booklets ready in no time.