Choosing the right adhesive for book binding comes down to one material: acid-free bookbinder’s PVA (polyvinyl acetate). This water-based glue dries flexible, won’t yellow or buckle your pages, and creates a professional bond that lasts decades when applied correctly. Unlike craft glues or hot-melt adhesives, quality PVA stays workable long enough to position your pages and dries with the archival stability serious bookbinders demand.
The surge of interest in handmade goods has brought bookbinding back into the spotlight, especially among creators who value sustainable materials and custom production. Whether you’re creating journals for your small business, assembling portfolios for clients, or exploring a new craft skill, understanding PVA glue gives you control over quality and longevity. Brands like Lineco and Pinflair Glue-It offer ready-to-use formulations that require no dilution, and you can extend working time by mixing PVA with methyl cellulose if your project needs it.
This guide walks you through selecting the right adhesive, preparing your workspace, and applying glue with the precision that separates amateur bindings from professional results. You’ll learn which tools make application easier, how to avoid common mistakes like oversaturation, and how to verify your finished book will hold up to regular use.
What You’ll Need: Tools and Materials for Book Glue Binding
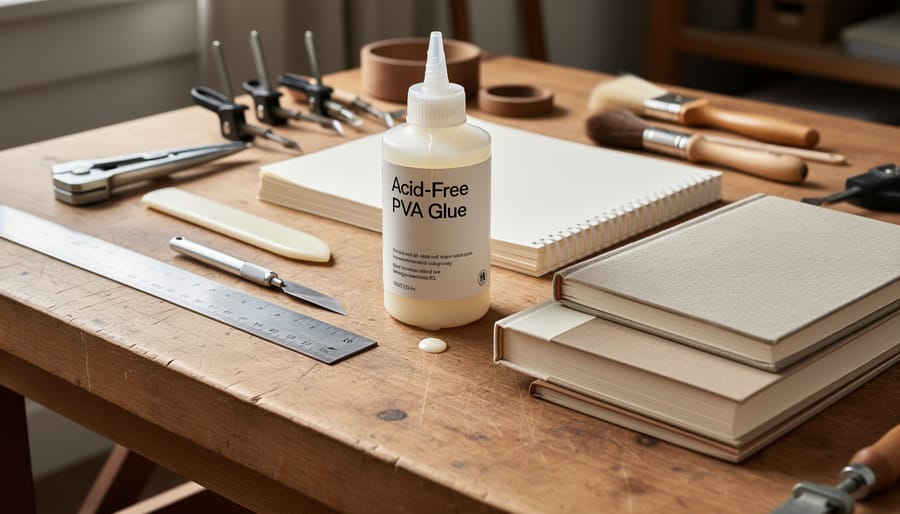
Getting your glue binding setup right means gathering a few key tools and choosing materials that will stand the test of time. Start with the right adhesive: acid-free bookbinder’s PVA like Lineco or Pinflair Glue-It is your best bet. These premade bottled glues are mixed to be used as-is, with no dilution needed, and they stay flexible when dry so your pages won’t buckle if you apply them thinly. If you need longer working time for complex projects, mix PVA with methyl cellulose to slow the set.
Here’s what you’ll need to create professional bindings:
- Adhesives: Acid-free bookbinder’s PVA (Lineco or Pinflair Glue-It), optional methyl cellulose for extended working time
- Application tools: Inexpensive flat brushes (damp or wet for certain applications), small container for glue
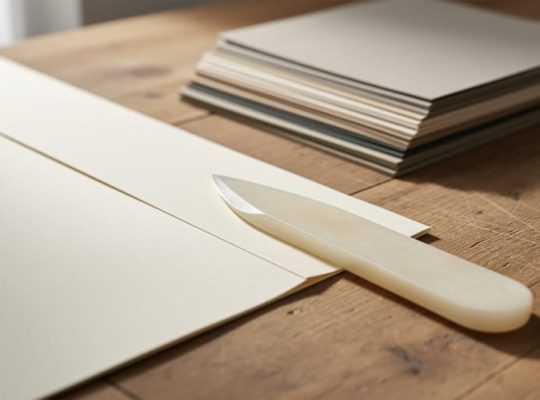
- Binding supplies: C-clamps or bar clamps to hold pages securely, wax paper to prevent glue transfer, a bone folder for creasing and smoothing
- Workspace essentials: Cutting mat, ruler, scrap cardboard to protect surfaces, clean cloth for wiping excess glue
Quality materials matter for handmade projects that reflect care and craftsmanship. Choose archival-quality supplies whenever possible, especially if you’re creating books meant to last or products you’ll sell. Sustainable, non-toxic adhesives align with conscious making practices and ensure your work ages well. Remember that more EVA in your PVA blend means shorter drying time and more tackiness, which can be useful for quick turnarounds but may limit your working window on intricate bindings. Start with the basics and add specialized tools as your projects demand them.
Understanding PVA Glue for Bookbinding
Acid-free bookbinder’s PVA is the gold standard for lasting, professional results. Unlike regular craft glue, it stays flexible when dry, your pages can open fully without cracking the spine. Apply it thinly with a brush, and it won’t buckle or warp paper. Brands like Lineco and Pinflair Glue-It come premade and ready to use straight from the bottle, no dilution needed.
What sets bookbinding PVA apart is its neutral pH, there’s no acid to degrade paper over time. If you need more control during application, mix your PVA with methyl cellulose. This extends your working time before the glue sets, giving you space to adjust alignment or reposition pages. A damp or wet brush also helps spread the adhesive evenly in tight spots.
The ratio of EVA to PVA in your glue affects both drying speed and grip. Higher EVA content means the glue sets faster and feels tackier, which can be useful when you’re working quickly or binding thicker sections. Standard PVA formulas offer a slower, more forgiving cure. Choose based on your project pace and how much time you need to make adjustments before the bond locks in.
Safety and Workspace Preparation
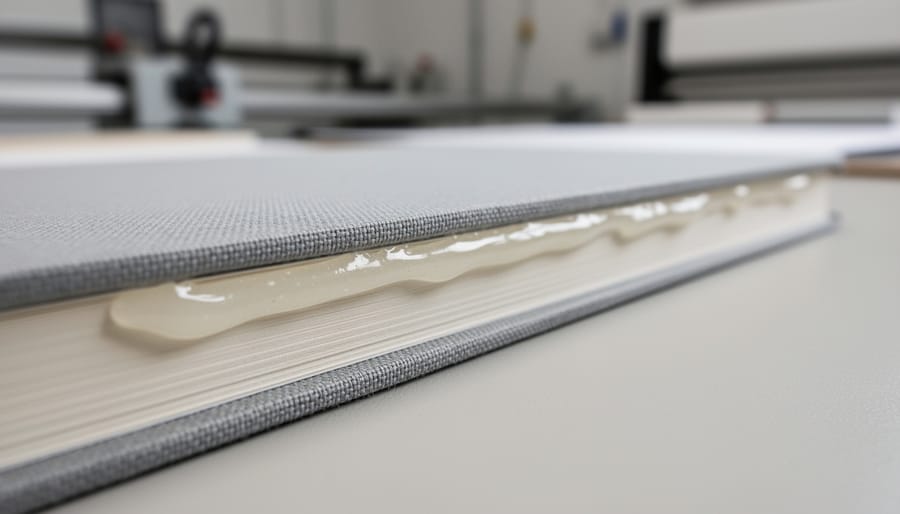
Setting up safely matters for any hands-on craft, and book glue binding is no different. While acid-free bookbinder’s PVA is non-toxic and water-based, a few simple precautions ensure clean, professional results every time.
Work in a well-ventilated space, especially if you’re binding multiple books in one session. Though PVA doesn’t emit harsh fumes, fresh air keeps your workspace comfortable and helps adhesive cure properly. Cover your work surface with wax paper, parchment, or a dedicated cutting mat, dried glue can damage tables and interfere with future projects.
Organize your tools within easy reach: clamps, brushes, and glue should be positioned so you can move efficiently through each step without fumbling. Keep a damp cloth nearby to wipe brush handles and catch drips immediately, PVA cleans up easily with water while wet but becomes stubborn once dry. This kind of workspace discipline minimizes waste and keeps your finished bindings free from accidental smudges or adhesive transfer, which matters whether you’re creating custom journals for your own projects or preparing handmade books for clients who value quality craftsmanship.
Step-by-Step Book Glue Binding Process
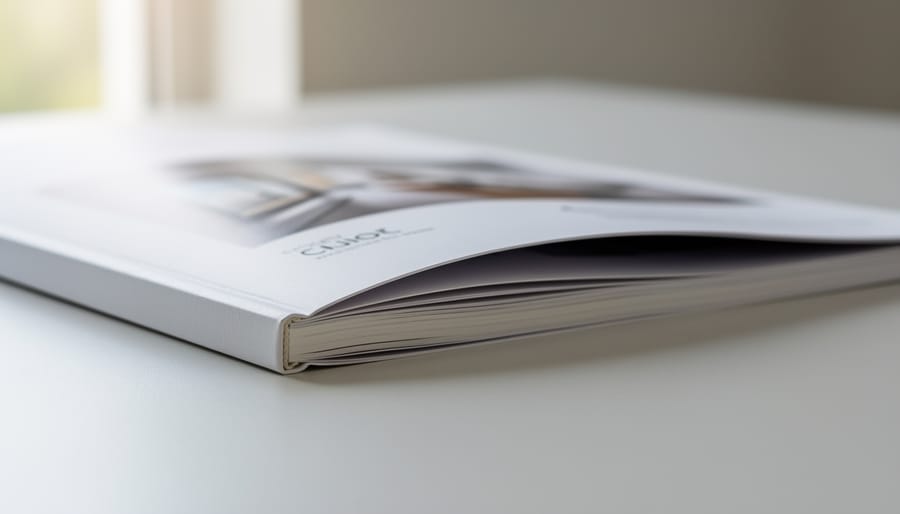
Preparing Your Pages
Start by gathering your pages in the order they’ll appear in the finished book. Tap the stack firmly on a flat surface to align the top and side edges, misaligned sheets create an uneven spine that’s hard to glue cleanly.
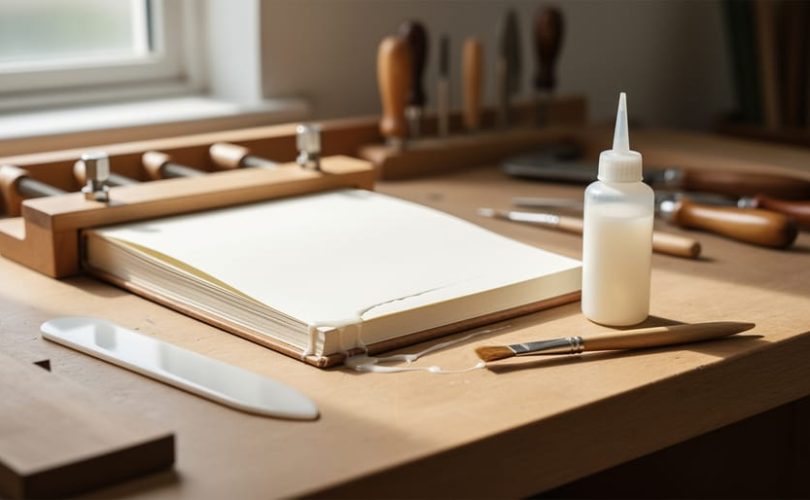
Once aligned, secure the pages in a book press or sturdy clamps, positioning the spine edge flush and proud of the clamp jaws by about 3mm. This small overhang gives you room to brush glue onto the spine without the clamp blocking your brush strokes. If you’re working without a press, heavy books stacked on either side of the clamped block work well.
Check that the pages are tight and won’t shift when you apply pressure with your brush. Loose pages soak up glue unevenly and can slip out of alignment mid-application. For larger projects or heavier cover stock, useful if you’re binding branded materials, portfolios, or small-run publications that complement custom print work, add extra clamps or weight to keep everything stable. A well-prepared, firmly clamped block is half the work; it ensures your glue coats evenly and your spine cures straight.
Applying the Glue
The key to strong book binding is applying just enough glue for complete coverage without saturating the spine. Use your acid-free PVA straight from the bottle, premade bookbinding glues like Lineco or Pinflair Glue-It are formulated to work as-is, with no dilution needed. This consistency ensures predictable results every time.
Start with a clean, flat brush about an inch wide. Dip it lightly into the glue and work in thin, even strokes along the clamped spine. Your first pass should coat the entire surface; aim for a uniform layer you can see through slightly rather than a thick white film. If you notice the glue beading or pooling, you’re applying too much.
For tighter grain or uneven surfaces, dampen your brush before loading it with glue. The moisture helps the PVA spread more smoothly and penetrate between pages without forcing excess adhesive into the paper fibers. Work quickly but deliberately, bookbinding PVA has good open time, but you want even coverage before it starts to set.
Apply a second thin coat perpendicular to the first once the initial layer looks slightly translucent. This cross-hatching technique fills any gaps and reinforces the bond. Remember that PVA stays flexible when dry and won’t buckle pages if you keep each application thin. Two light coats outperform one heavy glob every time.
For extended working time on complex bindings, mix your PVA with methyl cellulose before you start. This gives you more latitude to perfect your coverage without rushing.
Drying and Finishing
After gluing, support the book upright or flat under light, even pressure while it cures. Place wax paper between the spine and clamps to prevent sticking. If you’ve used a standard acid-free PVA like Lineco or Pinflair Glue-It, expect the adhesive to stay flexible when dry, which is essential for a book that opens smoothly without cracking. Higher EVA content in the mix results in faster drying and more initial tack, so adjust your timeline based on your glue’s composition.
Check the spine after a few hours. It should feel firm but not brittle. Full cure typically takes 24 hours, though tackier formulas may set faster. Once dry, trim any uneven edges with a sharp craft knife and straightedge for clean, professional-looking pages.
For finishing, consider covering the spine with decorative cloth or bookbinding tape, which adds durability and a polished look. This step also protects the glue layer from wear. If you’re creating custom notebooks or journals for your brand, a well-finished spine reinforces the quality and care that go into handmade products, values that resonate with customers who prioritize craftsmanship and sustainability in everything they purchase, from apparel to stationery.
How to Verify Your Binding Is Successful
Once your binding has cured for 24 hours, test the spine’s flexibility by gently opening the book to 90 degrees. Pages should turn freely without resistance, and the glue should feel dry but not brittle. Run your thumb along the spine edge to check for even adhesion, you shouldn’t feel loose pages or gaps where glue didn’t reach. If pages pull away easily, you’ll need to apply more PVA or increase clamping pressure on your next project.
For projects requiring stitched reinforcement before gluing, saddle stitch binding provides a foundation that glue enhances rather than replaces. Check page flexibility by holding the book vertically and letting it fall open naturally. The binding should support the weight without cracking or separating from the text block. Professional results show no buckling or warping, a sign you applied the acid-free PVA thinly and evenly as intended.
Press gently on individual pages near the spine. They should resist separation but flex slightly, not feel rigid or glued into a solid mass. This balance confirms your binding will last through repeated use.
Common Questions About Book Glue Binding
Can I dilute premade bookbinding glue?
No, the premade bottled glues are mixed to be used as-is and no dilution is needed. Using them straight from the bottle ensures the proper adhesive strength and flexibility for your binding.
How do I extend the working time of my glue?
Mix PVA with methyl cellulose if you need longer working time. This blend gives you more control during application, especially helpful for larger projects or when you’re still developing your technique.
Will PVA damage my pages over time?
Acid-free bookbinder’s PVA like Lineco or Pinflair Glue-It stays flexible when dry and won’t buckle pages if applied thinly. This makes it archival-quality and safe for long-term preservation of your bound materials.
What’s the difference between PVA and EVA content?
More EVA/PVA means shorter drying time and more tackiness. A higher EVA ratio gives you faster handling time but less working time during application, so choose based on your project needs and workflow preferences.
Beyond these core concerns, you might wonder about application technique. A damp or wet brush helps in certain applications, particularly when you need smoother coverage or are working with delicate paper stocks. The right tools and materials matter just as much as the adhesive itself. For those expanding their creative practice beyond bookbinding into custom products and maker projects, applying these same product selection tips helps you choose quality materials that align with your values and deliver professional results your customers will appreciate.
Learning book glue binding connects to the same values that drive quality custom production, attention to detail, choosing the right materials, and building something that lasts. Whether you’re binding portfolios for client presentations, creating limited-edition artist books, or exploring complementary maker skills, the principles remain consistent: use archival-quality PVA, apply it thoughtfully, and respect the craft. Start with a single practice signature to build confidence, then scale to larger projects as you refine your technique. Mastering this hands-on skill reinforces a commitment to quality and durability that extends beyond any single medium, supporting the broader ethos of conscious, customer-focused creation that values substance and craftsmanship over shortcuts.