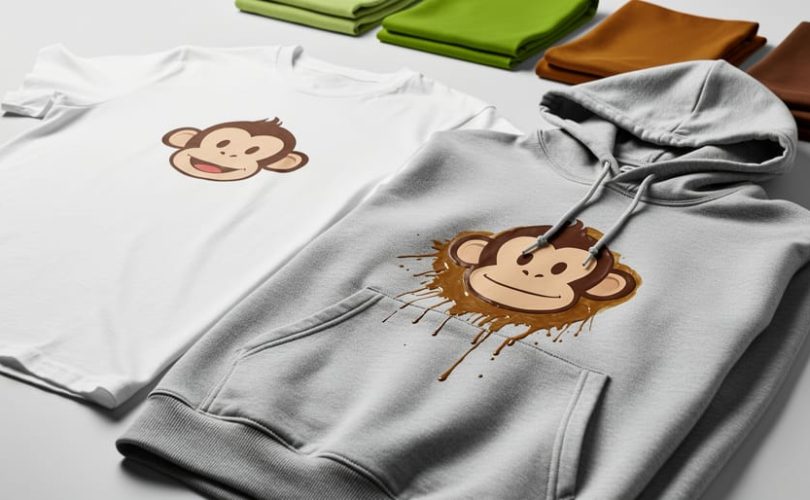
Designing a monkey graphic for custom apparel on Monkey Prints takes about 15 minutes using our Design Maker platform, where you can upload your own artwork, choose from our template library, or build a design from scratch with intuitive drag-and-drop tools. Whether you’re creating playful monkey illustrations for a children’s brand or bold primate graphics to build your brand the process combines creative flexibility with print-ready precision.
The Design Maker streamlines everything from concept to production-ready file. You’ll select your garment type (t-shirts, hoodies, tote bags), upload or create your monkey design, adjust sizing and placement, preview how it looks on different fabric colors, and receive instant feedback on print quality. Our platform automatically checks resolution, color modes, and bleed areas so your design prints exactly as you envision.
This guide walks through each step of the design process, covering the tools you’ll need, quality safeguards built into the platform, and how to verify your design meets our sustainable printing standards. You’ll finish with a custom monkey design ready for production on eco-friendly materials, backed by our Canadian customer support team if questions arise along the way.
Tools and Materials You’ll Need
Creating custom monkey-themed apparel through Monkey Prints’ Design Maker requires minimal setup, making it accessible whether you’re a first-time designer or an experienced creator. Before you start bringing your monkey design to life, gather these essential and optional resources:
- A computer, tablet, or smartphone with a stable internet connection
- Access to the Monkey Prints website where the Design Maker tool is hosted
- Your design concept or inspiration, even if it’s just a rough idea in your head
- Optional: Custom artwork, logos, or photos saved in common image formats (JPEG, PNG, or SVG)
- Optional: Specific text, slogans, or brand names you want to incorporate
- Optional: Your brand’s color codes if you need exact color matching
The beauty of the Design Maker platform is its browser-based accessibility. You won’t need to download specialized design software or invest in expensive tools. The platform works seamlessly across devices, so you can start a design on your laptop and refine it on your phone later. If you’re completely new to custom apparel design, you can dive right in with just an internet connection and an idea. The Design Maker’s intuitive interface guides you through each step, while those bringing existing artwork can simply upload their files when prompted. Having your design elements organized beforehand streamlines the process, but spontaneous creativity works just as well with the tool’s built-in graphics library and templates.
Understanding Monkey Prints’ Design Maker Capabilities
Monkey Prints’ Design Maker puts professional-quality customization at your fingertips without requiring graphic design experience. The platform offers an intuitive drag-and-drop interface where you can manipulate design elements in real-time, seeing exactly how your monkey-themed creation will look on your chosen garment before committing to production.
The tool provides several starting points to match different comfort levels. Pre-made templates give you fully-designed monkey graphics that you can customize with your own colors and text, perfect if you want quick results. Alternatively, you can start with a blank canvas and build your design from scratch using the platform’s extensive graphics library, which includes various monkey illustrations, decorative elements, and patterns.
Customization tools cover every visual aspect you might want to adjust. The color palette system lets you apply Monkey Prints’ curated sustainable ink options or input custom color codes if you have specific brand requirements. You’ll find dozens of font choices ranging from playful and casual to clean and modern, each optimized for readability on fabric. Text tools include sizing, rotation, and character spacing adjustments so your slogans or names integrate seamlessly with your monkey graphics.
Image upload capabilities support common file formats including PNG, JPG, and SVG, allowing you to incorporate your own artwork, logos, or photographs into the design. The platform automatically checks uploaded images for resolution requirements and alerts you if a file might not print clearly, preventing quality issues before they happen.
Design placement options give you control over where your monkey design appears on the garment. You can position elements on the front, back, or sleeves of shirts and hoodies, with visual guides showing safe print areas and size recommendations for each placement zone. The real-time mockup updates as you work, displaying your design on a realistic product image that accounts for garment color and fabric texture.
Design Safety: Best Practices for Print-Ready Artwork
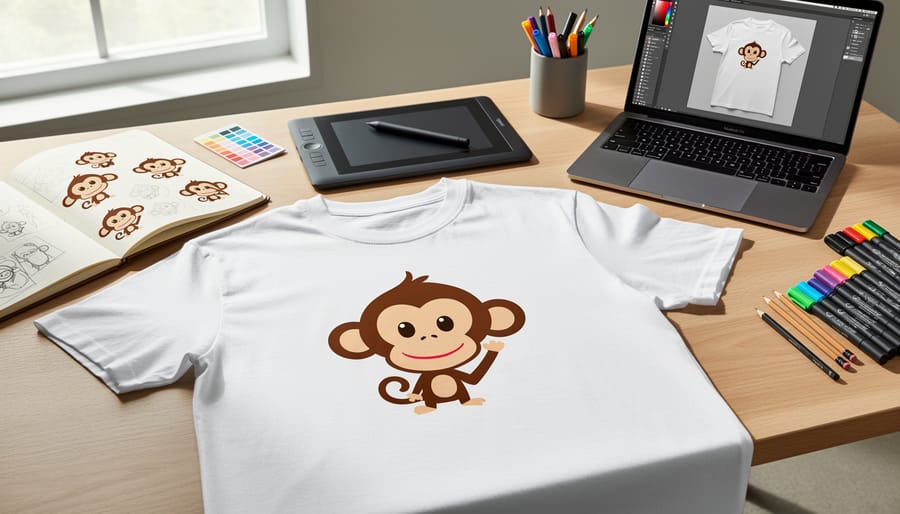
Getting your monkey design print-ready involves more than creative flair, technical specifications matter significantly for the final product quality. Understanding these requirements upfront saves time, money, and disappointment when your apparel arrives.
Start with resolution. Your monkey design should be at least 300 DPI (dots per inch) at the actual print size. Lower resolution images appear pixelated and blurry on fabric, especially on larger garments like hoodies. If you’re uploading custom artwork, zoom in to check clarity, what looks sharp on your screen at thumbnail size might reveal problems when enlarged.
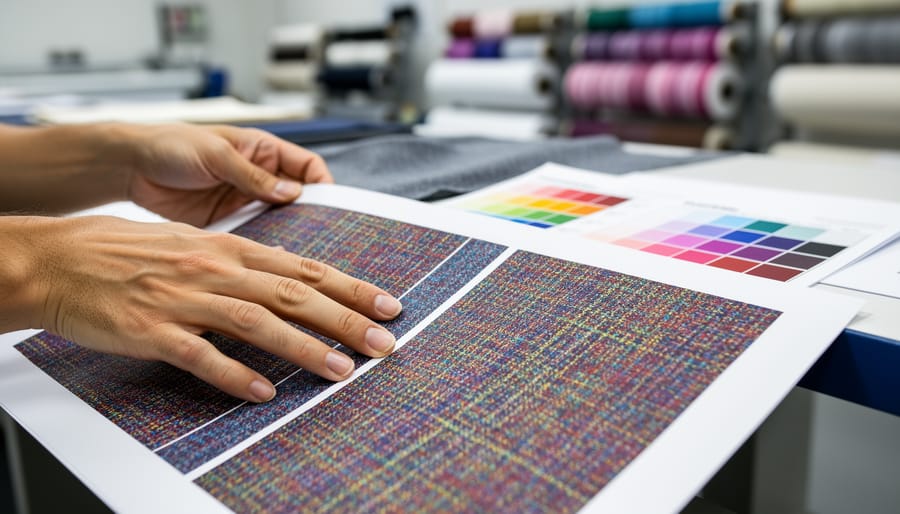
Color mode requires attention because screens and printers interpret color differently. Design Maker displays designs in RGB (the screen standard), but commercial printing uses CMYK. Bright, saturated colors in RGB, particularly vibrant blues and greens, can shift when converted to CMYK for printing. Preview your design carefully using the platform’s mockup tool, which simulates how colors will actually appear on fabric.
File formats affect both quality and compatibility. The Design Maker accepts common formats like PNG, JPG, and SVG. For best results, use PNG files with transparent backgrounds when layering elements, or SVG files for vector graphics that scale without quality loss. Avoid heavily compressed JPGs that introduce artifacts around edges.
Monkey Prints reviews designs before production to catch technical problems, but addressing these considerations during creation prevents delays. Common mistakes include text smaller than 8-point font (which becomes illegible), design elements placed too close to seams, and insufficient contrast between design and garment color. The platform’s preview function helps identify these issues before you finalize your order.
Step-by-Step: Creating Your Monkey Design
Step 1: Choose Your Product and Access the Design Maker
Start by visiting the Monkey Prints website and browsing the product catalog. You’ll find options ranging from classic t-shirts and long-sleeve shirts to hoodies, tank tops, and tote bags, each suitable for your custom monkey design. Consider your intended use: casual wear calls for comfortable cotton tees, while promotional purposes might benefit from exploring custom apparel benefits through hoodies or bags.
Once you’ve selected your product, click the “Design Now” or “Customize” button. This launches the Design Maker interface directly in your browser, no downloads required. The tool displays your chosen product as a blank canvas, with design controls positioned along the sides. Take a moment to familiarize yourself with the layout: you’ll see options for adding graphics, text, and images across the top toolbar, while color and sizing controls typically appear on the right panel.
Step 2: Select or Create Your Monkey Design Elements
Once you’ve accessed the Design Maker, you’ll face three main paths for bringing your monkey design to life.
The quickest route is browsing Monkey Prints’ template library. Filter by theme or style to find monkey designs ready for customization. These templates come pre-optimized for printing and serve as excellent starting points if you’re short on time or design experience.
If you have existing artwork, whether you sketched it yourself or worked with a designer, click the upload button. The Design Maker accepts common file formats including PNG, JPEG, and SVG. This option works well when you’ve already perfected your monkey character and just need to position it on apparel.
The third approach uses the graphics library built into the tool. Start with basic shapes, combine clipart elements, or piece together monkey features from individual components. This method requires more time but offers complete creative control without needing design software.
Consider mixing approaches. Many users start with a template, then upload custom elements to personalize it further. The Design Maker saves your progress automatically, so experiment freely with different combinations until your monkey design captures exactly what you envision.
Step 3: Customize Colors, Text, and Layout
Once you’ve selected your monkey design elements, it’s time to make them uniquely yours. The Design Maker’s color palette tool lets you adjust every aspect of your design’s color scheme. Click on individual elements to change their colors, you might want a vibrant purple monkey against a mint green background, or keep things classic with black and white. The platform shows you real-time previews so you can see exactly how each color combination looks on your chosen garment.
Adding text transforms your design from simple graphics into a complete statement piece. Select the text tool to add words, phrases, or slogans that complement your monkey theme. You’ll find dozens of font options ranging from playful and whimsical to bold and modern. Adjust the text size, rotate it for dynamic angles, and experiment with color to ensure it stands out without overwhelming your design.
Positioning and scaling require a bit of experimentation. Use your mouse or touchscreen to drag elements around the garment preview. Most designs work best centered on the chest area, but you might prefer an off-center placement or a small design on the sleeve. The scaling handles let you resize your monkey design, remember that larger isn’t always better. Leave breathing room around your design and consider how it will look when someone’s actually wearing the shirt.
Step 4: Choose Sustainable Printing Options
Once your monkey design is positioned and styled, you’ll select your printing method and materials. Monkey Prints offers water-based inks that contain no harmful chemicals and biodegradable packaging for every order. In the Design Maker, look for the “Eco Options” menu where you can choose organic cotton garments or recycled polyester blends. Direct-to-garment printing uses significantly less water than traditional screen printing and produces minimal waste. If you’re ordering multiple items, consider consolidating into one shipment to reduce carbon emissions. The platform clearly labels which material and printing combinations meet their sustainability standards, making it simple to align your creative vision with environmentally responsible choices.
Step 5: Preview and Finalize Your Design
Before committing to production, take advantage of the Design Maker’s 3D preview feature to see exactly how your monkey design will appear on your chosen garment. Click the preview button to rotate the product view, examining your design from multiple angles. This visualization helps you catch potential issues like awkward placement across seams or designs that might get lost in fabric folds.
Pay close attention to size proportions in the preview. A design that looks perfect on screen might appear too large or small on the actual product. Use the zoom function to inspect fine details like text readability and small design elements at actual print size.
Check alignment carefully. Your monkey design should be centered properly and positioned at an appropriate height on the garment. Most designs work best placed slightly above center on t-shirts, but hoodies and other items may require different positioning.
Once satisfied with the preview, review your design specifications one final time: confirm your selected sizes, quantities, and any special printing instructions. The Design Maker will flag potential technical issues before you proceed, giving you a chance to make corrections. When everything looks right, save your design and move forward to checkout.
Verification: Ensuring Your Design Meets Quality Standards
Before clicking that final order button, take a few minutes to verify your monkey design meets production standards. This quality check prevents disappointments and ensures your custom apparel looks exactly as you envision.
Start by zooming in on your design within the preview tool. Check that all elements appear crisp and clear, not pixelated or blurry. If your monkey graphic looks fuzzy at 100% zoom, the resolution likely needs improvement, aim for at least 300 DPI for optimal print quality.
Next, examine your color choices carefully. Screen colors can appear differently when printed on fabric. The Design Maker’s preview function shows realistic color rendering, but remember that vibrant blues and purples sometimes shift slightly during production. If color accuracy matters significantly, perhaps for brand matching or specific design requirements, consider ordering a sample first.
Review text elements for readability. Any words or numbers in your design should be clearly legible at the actual printed size. Fonts smaller than 12 points often become difficult to read on fabric, especially from a distance.
Complete these final verification steps:
- Confirm your design is centered and properly positioned on the garment
- Check that no important elements fall too close to seams or edges
- Verify you’ve selected your preferred sustainable printing method
- Review the product size and quantity for accuracy
- Double-check spelling in any text elements
Monkey Prints’ quality team also reviews each design before production begins. They’ll contact you if technical issues arise, but catching potential problems yourself speeds up the process considerably. This attention to detail reflects why businesses choose Monkey Prints for professional custom apparel, quality matters at every step.
Frequently Asked Questions
Can I get help if I’m stuck on my monkey design?
Yes, Monkey Prints offers design assistance through their customer support team. You can reach out via email or chat for guidance on everything from technical issues to creative suggestions.
Do I own the rights to my custom monkey design?
You retain ownership of any original artwork you create or upload. Monkey Prints uses your design solely to fulfill your order and won’t reproduce it for other customers without permission.
How long does it take to receive my custom monkey apparel?
Standard turnaround is typically 7-10 business days from order approval, though rush options are available. Bulk orders may require additional production time depending on quantity.
Is there a minimum order quantity for custom designs?
No, you can order as few as one item or scale up to bulk quantities for team uniforms or promotional brand-focused apparel. Pricing becomes more economical at higher volumes, with discounts kicking in around 12-24 pieces.
If your question wasn’t covered here, Monkey Prints’ support team responds quickly to inquiries about file formats, printing methods, or specific customization requests. They’re particularly helpful when you’re planning a larger project and need guidance on design specifications or material choices. The company maintains a customer-first approach, so don’t hesitate to ask for clarification before placing your order.
Designing your custom monkey apparel with Monkey Prints’ Design Maker transforms your creative vision into wearable reality without requiring professional design skills. The platform’s intuitive interface walks you through each step, from selecting your product to finalizing print-ready artwork, while offering the flexibility to express your unique style through colors, layouts, and graphics.
What sets this process apart is the combination of creative control and sustainable production methods. You’re not just creating custom apparel, you’re supporting environmentally responsible manufacturing that doesn’t compromise on quality. Whether you’re designing for personal expression, promotional purposes, or launching a small business, the Design Maker puts professional-grade customization at your fingertips.
Ready to bring your monkey design to life? Visit Monkey Prints’ website and start experimenting with the Design Maker today. Their customer support team stands ready to assist if you hit any snags along the way.